
how to make resin art
Share
Resin art has gained popularity in recent years for its versatility and stunning results. Whether you're a beginner or looking to refine your skills, mastering the art of resin can be a rewarding experience. Follow these expert tips to create your own beautiful resin masterpieces.
How to Make Resin Art: Techniques and Tips
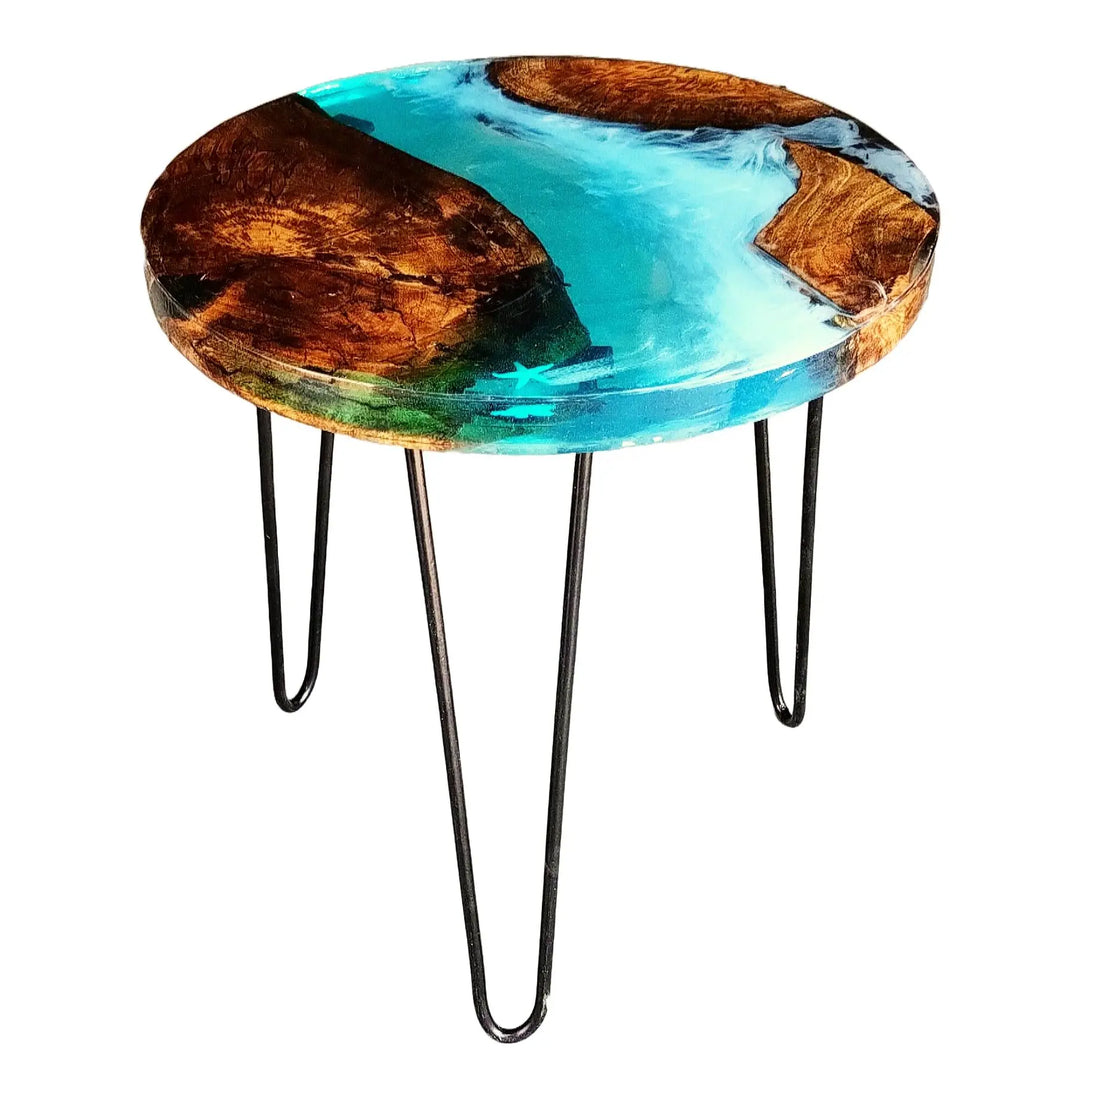
Resin art involves using epoxy resin to create unique and glossy finishes on various surfaces. The resin is a two-part compound that, when mixed together, creates a chemical reaction resulting in a hard, durable finish. Artists use resin to create colorful and intricate designs on canvas, wood, or other surfaces.
Choosing the Right Materials
When starting with resin art, it's essential to use high-quality materials to ensure the best results. Opt for a premium epoxy resin that is specifically designed for art projects. Additionally, invest in quality pigments, molds, and mixing tools to achieve the desired effects.
Preparing Your Workspace
Before starting your resin art project, set up a well-ventilated workspace with a level surface. Cover your work area with a drop cloth or plastic sheet to protect it from spills. Ensure that you have all the necessary tools and materials within reach to avoid interruptions during the process.
Mixing and Pouring the Resin
Understanding the Basics of Resin Art
To begin creating stunning resin art, you must first grasp the essential techniques involved. Resin art combines resin and hardener, which when mixed together, undergo a chemical reaction to solidify. The process is versatile, enabling artists to incorporate colors, glitters, and other materials. Understanding how resin works is crucial because this knowledge will help you avoid common pitfalls like improper mixing or insufficient curing time. So, if you want vibrant, eye-catching pieces, take your time mastering these basics.
Gathering Your Materials
Gathering the right materials is essential for successful resin art creation. You will need epoxy resin, a hardener, mixing cups, stir sticks, gloves, and a protective workspace. It's also helpful to have pigments, glitter, and molds if you desire more complex designs. By organizing your materials beforehand, you can streamline the process and minimize mess. Therefore, preparing a dedicated space will help you focus on your artistic expression without distractions.
Step-by-Step Process of Creating Resin Art
The actual creation process of resin art involves a few simple steps. Start by measuring equal parts of resin and hardener, then pour them into a mixing cup. Stir them thoroughly for at least three minutes to ensure a uniform consistency. Next, add your desired colors and effects, mixing them well. Pour the resin into your chosen mold, but be cautious of bubbles. Allow it to cure in a dust-free environment for 24 hours before demolding. This careful process ensures your art piece turns out beautifully and lasts for ages.
<h3>Understanding the Basics of Resin Art</h3>
<p>To begin creating stunning resin art, you must first grasp the essential techniques involved. Resin art combines resin and hardener, which when mixed together, undergo a chemical reaction to solidify. The process is versatile, enabling artists to incorporate colors, glitters, and other materials. Understanding how resin works is crucial because this knowledge will help you avoid common pitfalls like improper mixing or insufficient curing time. So, if you want vibrant, eye-catching pieces, take your time mastering these basics.</p>
<h3>Gathering Your Materials</h3>
<p>Gathering the right materials is essential for successful resin art creation. You will need epoxy resin, a hardener, mixing cups, stir sticks, gloves, and a protective workspace. It's also helpful to have pigments, glitter, and molds if you desire more complex designs. By organizing your materials beforehand, you can streamline the process and minimize mess. Therefore, preparing a dedicated space will help you focus on your artistic expression without distractions.</p>
<h3>Step-by-Step Process of Creating Resin Art</h3>
<p>The actual creation process of resin art involves a few simple steps. Start by measuring equal parts of resin and hardener, then pour them into a mixing cup. Stir them thoroughly for at least three minutes to ensure a uniform consistency. Next, add your desired colors and effects, mixing them well. Pour the resin into your chosen mold, but be cautious of bubbles. Allow it to cure in a dust-free environment for 24 hours before demolding. This careful process ensures your art piece turns out beautifully and lasts for ages
.</p>
Understanding the Basics of Resin Art
To begin creating stunning resin art, you must first grasp the essential techniques involved. Resin art combines resin and hardener, which when mixed together, undergo a chemical reaction to solidify. The process is versatile, enabling artists to incorporate colors, glitters, and other materials. Understanding how resin works is crucial because this knowledge will help you avoid common pitfalls like improper mixing or insufficient curing time. So, if you want vibrant, eye-catching pieces, take your time mastering these basics.
Gathering Your Materials
Gathering the right materials is essential for successful resin art creation. You will need epoxy resin, a hardener, mixing cups, stir sticks, gloves, and a protective workspace. It's also helpful to have pigments, glitter, and molds if you desire more complex designs. By organizing your materials beforehand, you can streamline the process and minimize mess. Therefore, preparing a dedicated space will help you focus on your artistic expression without distractions.
Step-by-Step Process of Creating Resin Art
The actual creation process of resin art involves a few simple steps. Start by measuring equal parts of resin and hardener, then pour them into a mixing cup. Stir them thoroughly for at least three minutes to ensure a uniform consistency. Next, add your desired colors and effects, mixing them well. Pour the resin into your chosen mold, but be cautious of bubbles. Allow it to cure in a dust-free environment for 24 hours before demolding. This careful process ensures your art piece turns out beautifully and lasts for ages.